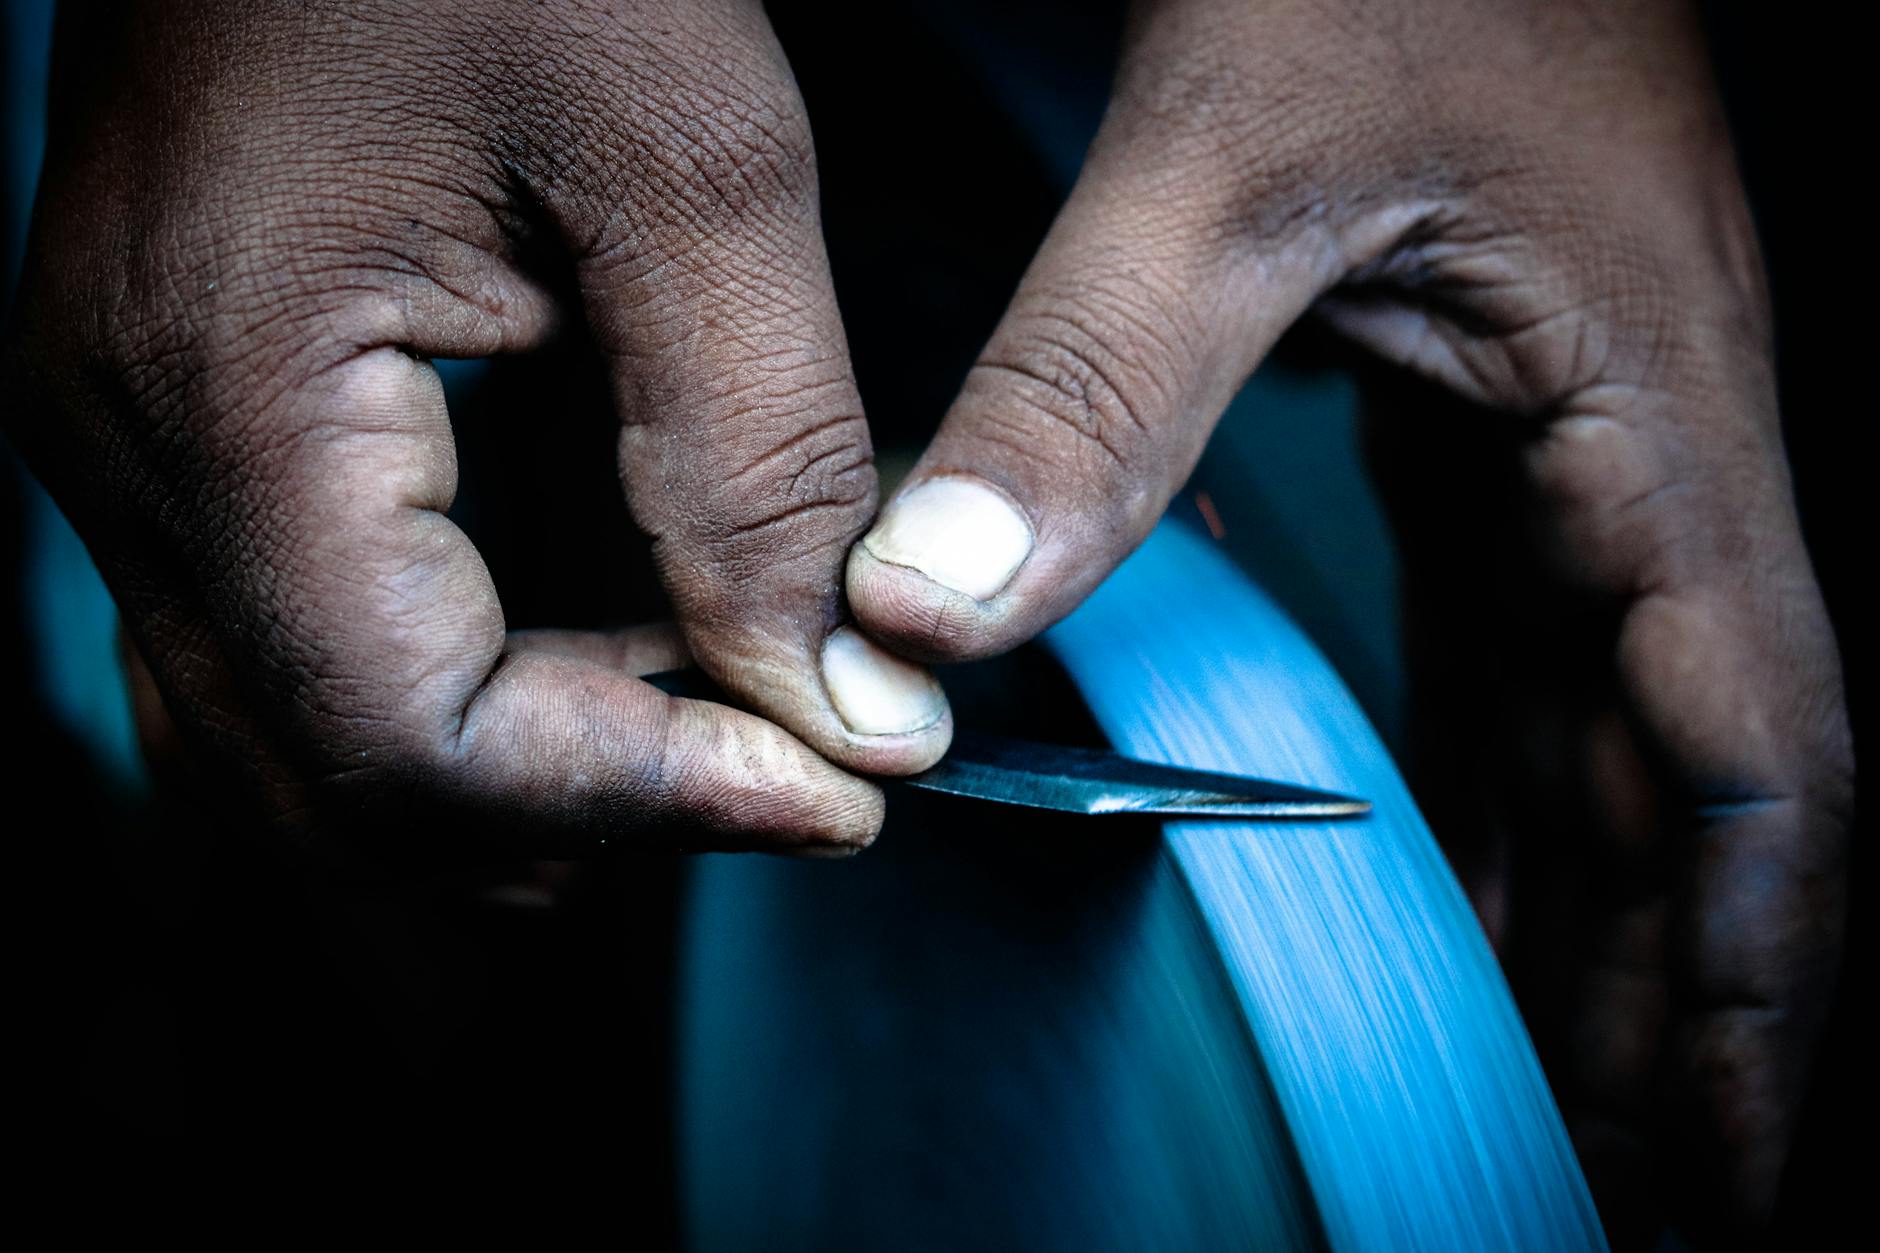
How to Sharpen a Japanese Knife with a Whetstone: A Complete Guide
There’s a moment every Japanese knife owner eventually faces — that first slice through a tomato that doesn’t glide the way it used to. The blade that once felt like a surgeon’s scalpel now pushes and tears. It’s a humbling reminder that even the finest Shirogami steel in the world needs maintenance.
I’ve been sharpening knives on whetstones for over a decade here in Japan, and I remember watching a craftsman at a knife shop in Sakai — the historic blade-making city in Osaka — sharpen a gyuto in under five minutes with such effortless precision that it looked almost meditative. That experience changed how I thought about knife care entirely.
The good news is that sharpening a Japanese knife with a whetstone is an absolutely learnable skill. It requires patience, the right stones, and an understanding of a few key principles that differ significantly from sharpening Western knives. Master this, and your knife will reward you every single time you cook.
Understanding Japanese Knives Before You Sharpen
Before you touch stone to blade, you need to understand what you’re working with. Japanese knives are fundamentally different from their Western counterparts, and treating them the same way is a common — and costly — mistake.
Single-Bevel vs. Double-Bevel
Traditional Japanese knives like the yanagiba (sashimi knife) and deba (fish filleting knife) are single-bevel, meaning they’re only sharpened on one side. The flat back side is kept perfectly flat and occasionally polished. These knives are almost exclusively used by professional Japanese chefs and require a different sharpening technique.
Most knives that Western home cooks own — the gyuto (chef’s knife), santoku, and nakiri — are double-bevel, sharpened on both sides. However, unlike Western knives that typically use a symmetrical 50/50 bevel, many Japanese double-bevel knives are asymmetrical, often ground at a 70/30 or 60/40 ratio, with more steel removed on the right-hand side.
Steel Hardness Matters
Japanese knives typically use harder steel than Western knives — often in the 60-67 HRC range on the Rockwell scale, compared to 56-58 HRC for most European blades. This hardness is what allows Japanese knives to hold an incredibly acute edge angle (10-15 degrees per side vs. 20-25 degrees for Western knives), but it also means the steel is more brittle and more sensitive to improper sharpening technique.
Understanding your knife’s steel type — whether it’s Aogami (Blue Steel), Shirogami (White Steel), or a stainless steel like VG-10 or SG-2 — helps you choose the right whetstone grit and manage expectations about sharpening time.
Choosing the Right Whetstone
The Japanese whetstone tradition is ancient and sophisticated. Walking through the sharpening stone section at a knife shop in Sakai or even at Tokyu Hands in Tokyo, you’ll find dozens of options. Here’s how to make sense of them.
Grit Levels Explained
Whetstones are categorized by grit number — the lower the number, the coarser the stone and the more aggressively it removes metal.
| Grit Range | Type | Best Used For |
|---|---|---|
| 120–400 | Coarse | Repairing chips, reshaping damaged edges |
| 800–1200 | Medium | Reprofiling, setting a new bevel |
| 1000–2000 | Fine | General sharpening, regular maintenance |
| 3000–6000 | Extra Fine | Refining the edge after coarser stones |
| 8000–12000 | Finishing/Polishing | Final polish, mirror edge |
For most home cooks, a combination stone of #1000/#3000 is the ideal starting point. Once you’re comfortable, adding a #6000 or #8000 finishing stone makes a significant difference in the final edge quality.
Recommended Stones
The King KW-65 1000/6000 combination stone is widely used in Japan and is an excellent entry-level option — Check Price on Amazon. For serious sharpeners, the Naniwa Chosera or Shapton Glass Stone series are beloved by professionals for their consistent grit and fast cutting action. Check Price on Amazon
Natural Japanese whetstones (天然砥石, tennen toishi) from Kyoto’s Narutaki region are considered the pinnacle of sharpening stones, but they can cost hundreds to thousands of dollars and are firmly in expert territory.
Setting Up Your Sharpening Station
Good technique starts with good setup. Rushing past this step is a beginner mistake I see constantly.
Soaking vs. Splash-and-Go
Most synthetic whetstones fall into two categories:
- Soaking stones: Require 5–10 minutes submerged in water before use. You’ll see bubbles rising — that’s air escaping from the pores. Once the bubbles stop, the stone is ready. King and similar ceramic stones typically need soaking.
- Splash stones: Higher-density stones like Shapton Glass Stones only need water splashed on the surface immediately before use. Soaking them can actually cause cracking.
Check the manufacturer’s instructions for your specific stone.
Stabilizing the Stone
A whetstone that moves while you’re sharpening is dangerous and counterproductive. Use a rubber non-slip mat or a purpose-built whetstone holder. Check Price on Amazon I keep mine on a folded damp towel on the kitchen counter — simple and effective.
Position the stone horizontally in front of you, long edge facing away. You want a stable, comfortable working height — standing at the kitchen counter works well for most people.
Water and Slurry
Keep a small cup of water nearby and add water to the stone’s surface as you work. As metal particles mix with the stone particles, they form a grey slurry (toishi no doro). Do not wipe this away. This slurry is actually abrasive and contributes significantly to the sharpening process. It’s one of the key things that distinguishes whetstone sharpening from other methods.
The Core Sharpening Technique Step by Step
This is the heart of it. Take your time here, especially on your first few attempts.
Finding and Holding the Angle
The correct sharpening angle for most Japanese double-bevel knives is 10–15 degrees per side. Here’s a practical way to find it:
- Lay the knife flat on the stone — that’s 0 degrees.
- Raise the spine until you can just slide a thick matchbook (about 3mm) underneath — that’s roughly 10–12 degrees.
- For slightly more robust edges on stainless steel knives like VG-10, aim for 13–15 degrees.
Maintaining this angle consistently throughout the stroke is the single most important skill to develop. I recommend practicing the motion without water first, just to build muscle memory.
The Sharpening Stroke
Place two or three fingertips of your non-dominant hand flat on the flat of the blade near the edge — these are your guide fingers, applying downward pressure.
For the push stroke (the most common method in Japan):
1. Start with the heel of the blade at the near end of the stone.
2. Push the blade forward (away from you) while simultaneously sliding it so the tip reaches the far end of the stone by the end of the stroke.
3. Apply pressure on the forward stroke, reduce pressure on the return.
4. Move your guide fingers along the blade in sections — heel, middle, tip — to ensure the entire edge contacts the stone evenly.
Aim for 8–12 strokes per section before checking progress.
Feeling for the Burr
After sharpening one side, run your thumb very carefully across the opposite side of the edge (not along it — across it, from spine to edge). You should feel a slight roughness or “catch” — this is the burr or wire edge, a thin curl of metal that forms when the edge has been fully worked. This is your confirmation that you’ve sharpened sufficiently on that side.
Flip the knife and repeat on the other side. For asymmetric grinds (70/30), spend proportionally more strokes on the primary bevel side.
Removing the Burr
After working both sides, alternate 2–3 light strokes per side on your finest stone to remove the burr. Some sharpeners finish with a few strokes on a leather strop or even the back of a leather belt. Check Price on Amazon
Progressing Through the Grits
Think of grit progression like sanding wood — you work from coarse to fine, with each successive stone removing the scratches left by the previous one.
For a dull but undamaged knife:
Start at #1000, sharpen until you raise a consistent burr, then move to #3000 to refine, finishing on #6000 or #8000.
For a chipped or severely dull knife:
Begin at #400 or #600 to remove the chip and reshape the edge, then progress through #1000, #3000, and finish on #6000.
For regular maintenance (weekly or bi-weekly):
A few strokes on a #3000 or #6000 stone is often all that’s needed to refresh an edge that’s been properly maintained. This is actually how most Japanese home cooks approach knife care — frequent light maintenance rather than infrequent heavy sharpening.
Each time you move to a finer grit, you’re looking to erase the scratch pattern left by the previous stone. Hold the blade up to a raking light source — the edge should look progressively more refined and less scratched with each stone.
Practical Tips for Better Results
After years of sharpening my own knives and watching professionals work, here are the insights that made the biggest difference in my own technique:
- Consistency beats speed. A slow, consistent angle will always produce a better edge than fast, sloppy strokes. There are no shortcuts.
- Flatten your stones regularly. Whetstones develop a concave hollow with use — called “dishing” — which makes it impossible to maintain a consistent angle. Use a diamond lapping plate or flattening stone every few sessions. Check Price on Amazon
- Test sharpness with paper. A sharp Japanese knife should slice through a sheet of printer paper cleanly and smoothly with zero tearing. Even sharper? It should shave arm hair effortlessly.
- Sharpen in good light. Examining your edge progress requires seeing the reflection on the bevel — a bright overhead light or a window works perfectly.
- Let the stone do the work. Excessive pressure causes uneven wear on the stone and can actually slow down sharpening. Moderate, consistent pressure is more effective.
- Clean and dry your knife after sharpening. Metal particles from the slurry will remain on the blade — rinse and dry thoroughly before use or storage.
Common Mistakes to Avoid
Even experienced cooks make these errors when they first start whetstone sharpening:
1. Using too steep an angle. Sharpening at 20–25 degrees (Western knife angle) on a Japanese knife designed for 12–15 degrees will produce a serviceable but inferior edge. You’re essentially re-profiling the geometry away from what the knife was designed for.
2. Inconsistent angle throughout the stroke. Rocking the blade — even slightly — rounds the bevel and prevents a clean apex from forming. If you struggle with this, angle guides (small clamp-on tools that hold the blade at a set degree) are a legitimate training aid. Check Price on Amazon
3. Skipping grit progressions. Jumping from #400 straight to #3000 leaves deep scratches that the finer stone can’t efficiently remove. Always work progressively.
4. Sharpening a wet knife on a dry stone. Friction without lubrication can clog the stone’s pores and damage both the stone and the blade’s temper. Always keep the stone wet.
5. Neglecting the back of single-bevel knives. If you own a yanagiba or deba, the flat back (ura) needs occasional lapping on a flat finishing stone to maintain its geometry. Grinding the back at any angle is a serious mistake.
6. Storing wet knives. After sharpening, always dry your knife completely. Japanese high-carbon steels like Shirogami and Aogami will develop rust within hours if left damp.
FAQ
Q: How often should I sharpen my Japanese knife on a whetstone?
For home use, a full sharpening session on a #1000 stone is typically needed every 2–4 months depending on frequency of use. Between sessions, a few light strokes on a #3000 or #6000 stone every 2–3 weeks will maintain the edge. A honing rod should not be used on Japanese knives — the steel is too hard and brittle, and ceramic or leather strops are preferred for touch-ups.
Q: Can I use a whetstone on stainless steel Japanese knives like VG-10?
Absolutely. VG-10 and other stainless Japanese steels sharpen beautifully on whetstones. They tend to be slightly more time-consuming to sharpen than carbon steels due to their chromium content, but they hold their edge longer and are more forgiving of moisture. The same grit progression applies.
Q: What’s the difference between a whetstone and a water stone?
In practice, these terms are often used interchangeably. “Water stone” typically refers to synthetic Japanese-style whetstones that use water as a lubricant (as opposed to oil stones, which use honing oil). Most Japanese whetstones you’ll encounter are water stones. Never use oil on a Japanese water stone — it will clog the pores permanently.
Q: My knife still feels dull after sharpening. What went wrong?
The most common culprits are: inconsistent angle (preventing a clean apex from forming), failing to raise a full burr on both sides, or not progressing to a fine enough grit. Try working more slowly on your #1000 stone, checking for a burr after every 5–6 strokes, and ensure you’re finishing on at least a #3000 stone. The paper test is your honest feedback mechanism.
Q: Should I sharpen my Japanese knife differently if it’s single-bevel?
Yes, significantly. Single-bevel knives like yanagiba are sharpened almost entirely on the bevel side (the concave or flat-ground side), with only very light “ura-oshi” strokes on the flat back to remove the burr. The goal is never to create a bevel on the back. If you own a single-bevel knife, I’d strongly recommend watching a professional demonstration or visiting a knife shop for a lesson before attempting it yourself — the technique is more nuanced and mistakes are harder to correct.
Conclusion
Sharpening a Japanese knife with a whetstone is one of those skills that seems intimidating at first but becomes deeply satisfying once it clicks. The principles are simple: the right stone for the job, a consistent angle, patience with the process, and respect for the tool you’re working with.
Start with a quality combination stone, a reliable knife holder, and your most-used kitchen knife. Work slowly, check your burr formation, and don’t rush the grit progression. Within a few sessions, you’ll develop the feel for it — and that first tomato you slice with a knife you’ve sharpened yourself is genuinely one of the most satisfying moments in any cook’s life.
If you’re ready to build your sharpening kit, start with the Check Price on Amazon for everyday sharpening, and add the Check Price on Amazon when you’re ready to take your edge to the next level. Your Japanese knives deserve nothing less.